The Art of Coin Photography for Auction Listings
Understanding the Basics of Coin Photography
Discovering the Magic Behind Coin Photography
Coin photography isn’t just about clicking a button; it’s like unlocking a time capsule. Every coin tells a story—whether it whispers about ancient empires or shouts about a misprinted edge. But here’s the thing: capturing these stories in an image requires a dash of technique, patience, and creativity.
First, you’ve got to embrace the quirks of coins. They’re not your typical subject; their reflective surfaces, tiny details, and intricate textures present unique challenges. And don’t even get me started on lighting—one wrong angle, and your coin can go from looking like treasure to a dull piece of metal.
Why does this matter? Well, think about your potential bidders scrolling through auction listings. The better your image, the more likely they’ll stop mid-scroll and say, “Now *this* one I need.” And it’s not just about clarity; it’s about making your coin visually irresistible.
So, let’s dive into what truly sets jaw-dropping coin photography apart. Every snapshot should feel like holding history in your hands.
Essential Equipment for Capturing Coins
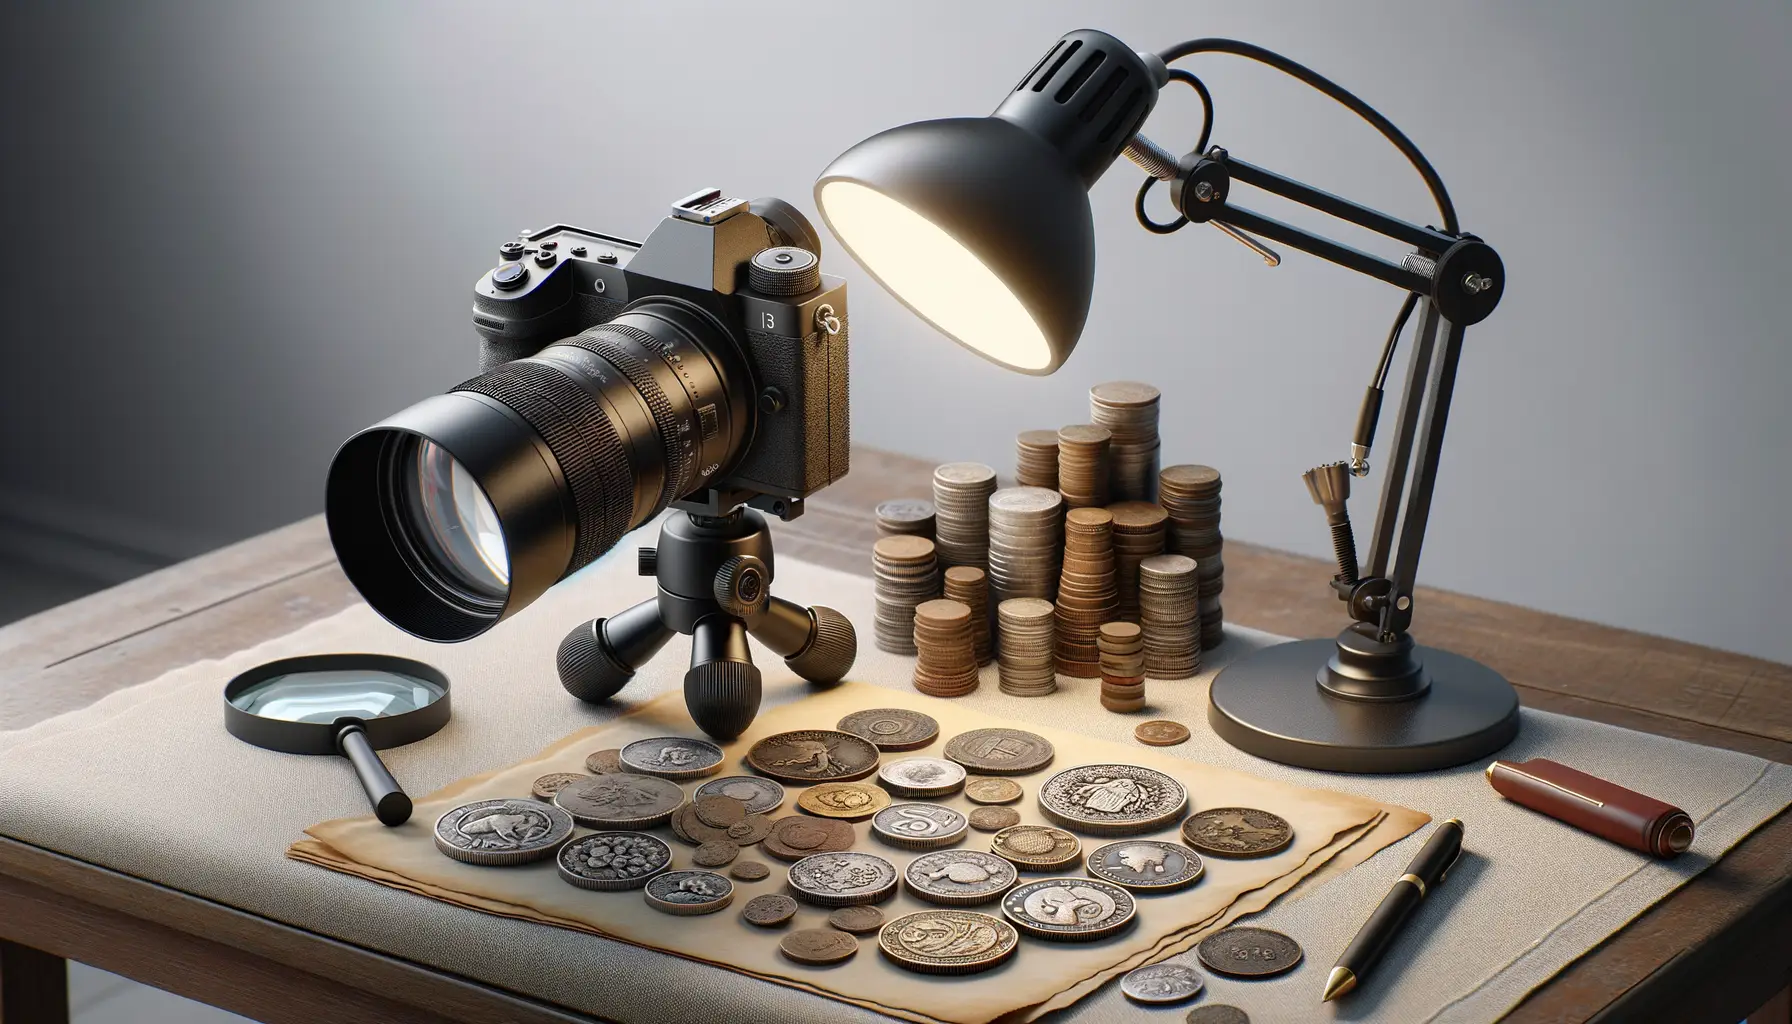
Your Coin Photography Arsenal
Imagine this: a dazzling coin in your hand, its intricate details shimmering under just the right light. That’s the magic we’re after—and to make it happen, you’ll need the right tools by your side. The good news? The “perfect shot” doesn’t require a Hollywood budget, but it does demand a bit of precision.
Let’s start with your camera. While a DSLR with a macro lens is the dream team, even a smartphone with high megapixels can play ball if paired with a clip-on macro lens (yes, those tiny accessories work wonders). But don’t stop there—your lighting setup is just as crucial. Forget your overhead room lights and grab a couple of diffused LED lamps. They minimize harsh reflections and bring out every charming detail on your coin’s surface.
- Background magic: A plain black or white background creates focus. Matte board or even velvet fabric works like a charm!
- Tripod: No shaky hands allowed. A sturdy tripod keeps your camera steady, capturing details down to the tiniest mint mark.
Add to this mix a loupe for close inspection and some soft gloves for handling—you’re now geared up for perfection. Let the coins shine!
Step-by-Step Guide to Photographing Coins
Setting the Stage for Your Coin Photo Shoot
Imagine this: your coin, a gleaming relic of history, shining like a star in its photograph. To achieve this magic, start by creating the perfect setup. Find a well-lit area—natural light near a window works wonders. Avoid harsh sunlight though; it can cause ugly glares and shadowy drama.
Place your coin on a neutral background. A creamy white sheet? A soft black velvet? Perfect. The backdrop shouldn’t overshadow your coin but rather let it take center stage. Next, stabilize your camera or smartphone with a tripod. Nobody likes shaky-handed blurriness!
Pro tip: Use a small stand or putty to make your coin stand upright if it’s double-sided. That way, you can capture both faces without awkward angles.
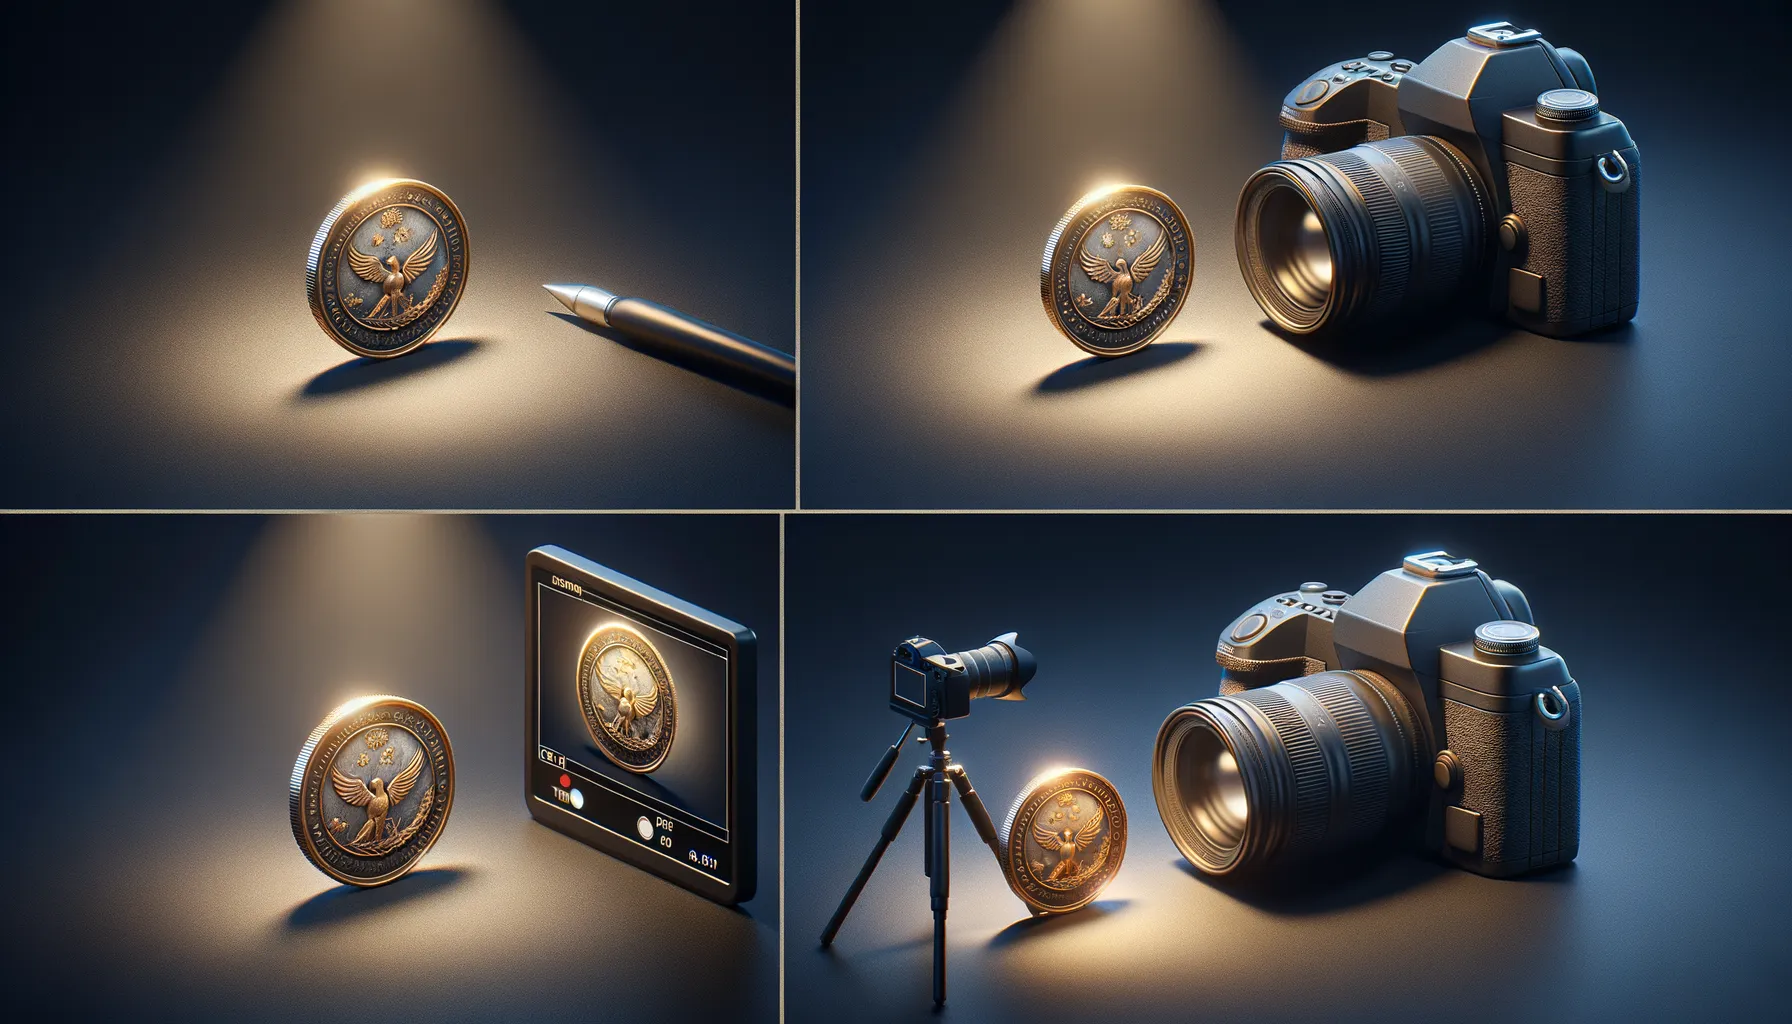
The Click-Worthy Process
Now that you’re set, let’s talk shooting techniques:
- Frame the coin: Fill most of the frame with the coin while leaving a tiny margin for elegance.
- Adjust lighting carefully: Use diffuse light sources, like a desk lamp with a white cloth over it, to reduce any harsh reflections.
- Use manual focus: Let no detail escape—those inscriptions and dates are the heroes here.
Snap away! Oh, and don’t forget to take multiple shots from different angles. Every coin has its best side. Capture them all!
Common Mistakes to Avoid in Coin Photography

The Danger of Overlooking Lighting
Lighting can be your greatest ally—or your worst enemy—in coin photography. Imagine capturing a rare 1909-S VDB Lincoln cent, only to see its beauty washed out by harsh shadows or flat, lifeless light. The trick? Avoid using direct camera flashes or overhead lighting that creates glares. Instead, experiment with soft, diffused light like that from a sheer curtain or a lightbox. Even a minor adjustment in lighting can mean the difference between “meh” and “magnificent.”
Pro tip: Test various angles as coins often reflect differently depending on how they catch the light. Don’t settle for the first shot—coins deserve better!
Neglecting Focus: Say Goodbye to Details
Nothing is more heartbreaking than losing an auction because your photo blurred the coin’s crucial features. If you’re not using a tripod, you’re risking shaky shots that leave fine details—like mint marks or die cracks—looking like vague smudges.
To avoid these pitfalls:
- Lock your camera’s focus manually for precision.
- Use a macro lens to capture intricate features up close.
- Always zoom in to double-check clarity before moving on.
Remember, your images are the voice of your auction listing, so let them sing loudly and clearly!
Enhancing Images for Auction Listings
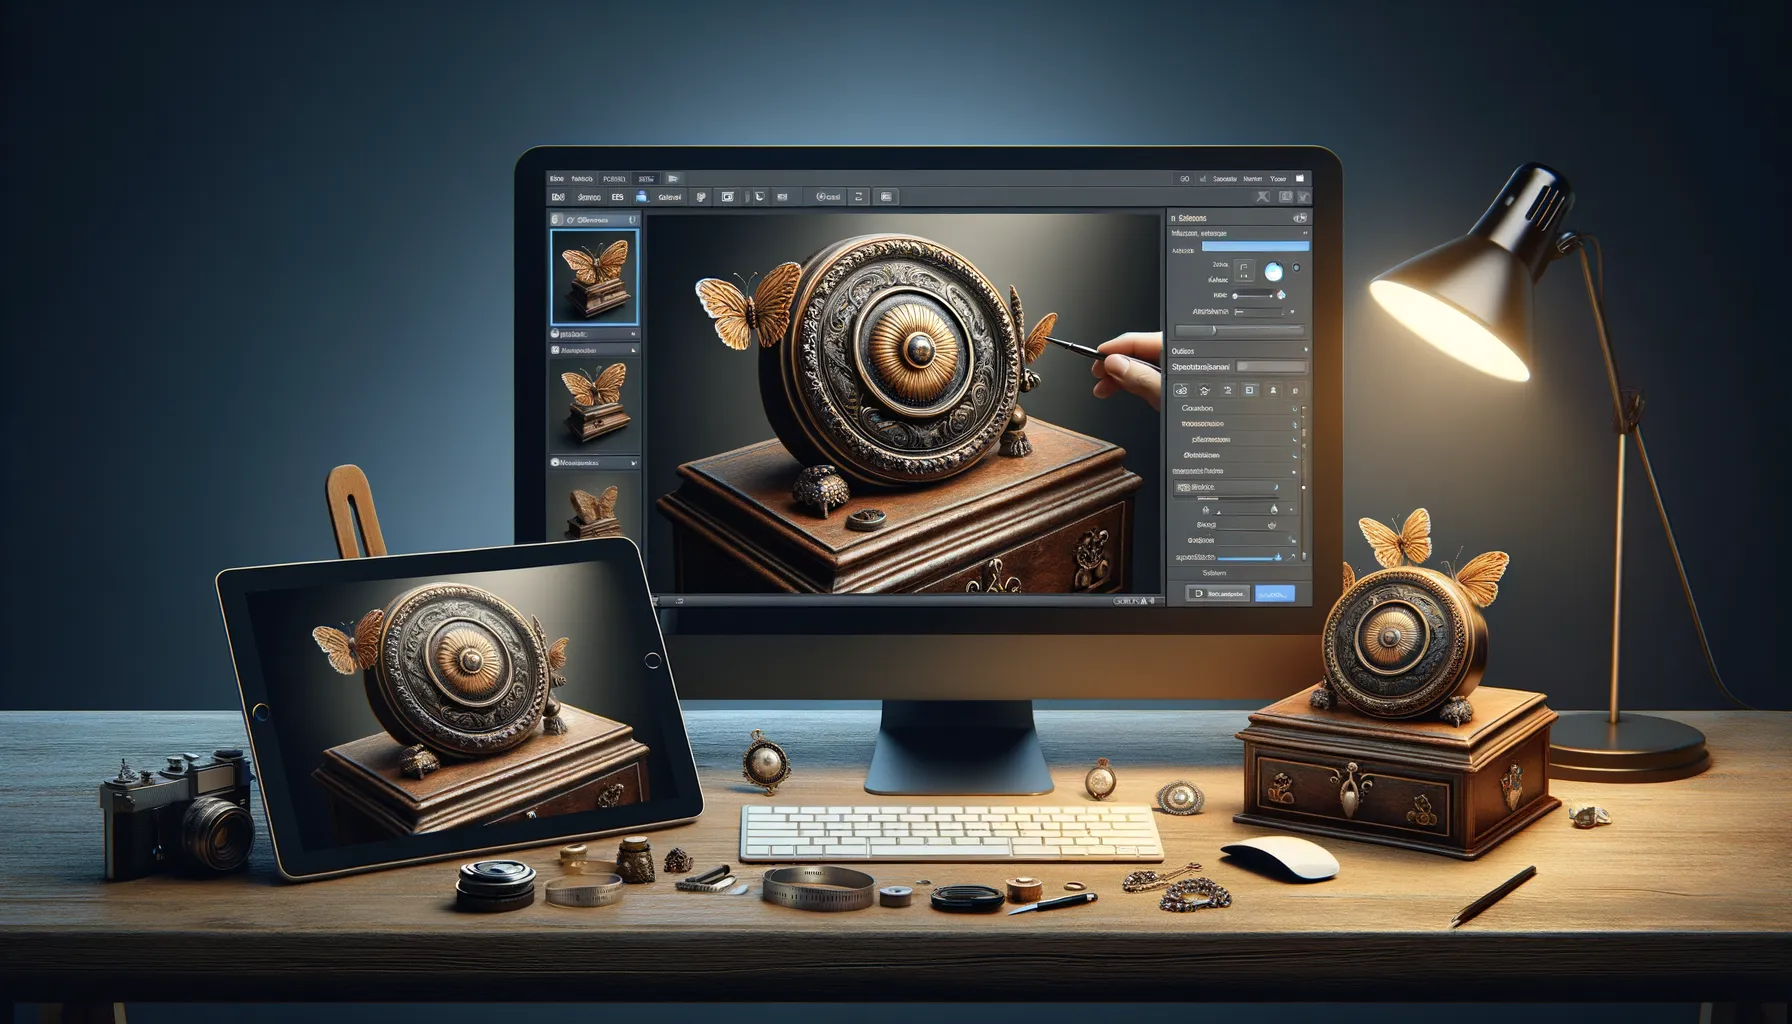
Breathe Life Into Your Coin Images
Your coins tell a story, but are your photos shouting it loud enough? A few tweaks can turn an “okay” image into a bidding war magnet. Enhancing your images isn’t about faking the coin’s qualities—it’s about capturing its true beauty in a way that makes buyers sit up and take notice. Think of it as polishing a diamond that’s already valuable.
Start by adjusting the brightness and contrast to ensure the coin’s details stand out. Those intricate engravings? Make them pop! If your lighting wasn’t perfect during the shoot, tools like Lightroom or Photoshop can work wonders to fine-tune shadows and highlights. Just be careful not to overdo it—buyers appreciate authenticity.
Pro tip: Stick to neutral white balance to maintain accurate color representation, especially for toned or patinated coins.
- Crop tightly to remove distractions and center the coin.
- Sharpen the image slightly to emphasize fine details like lettering and mint marks.
- Edit out dust or lint (those pesky specks have no place here!).
Remember, each image should whisper, “This is the one you’ve been waiting for!”